
Looking for a way to learn how to export contacts from Outlook to CSV format? You have come to the right place.
Different versions of Outlook have different settings and need different steps to download and export contacts to a CSV format.
In this article, we will show you how to export contacts from below listed versions of Outlook:
- Microsoft Outlook 2007
- Microsoft Outlook 2010
- Microsoft Outlook 2013, 2016
- Microsoft Office 365/Outlook.com
How to Export contacts from Outlook 2007
Step 1: Select “Import and Export”
Step 2: Click on “Export to a file”
Let’s see every steps in detail.
Step-1: Open your Microsoft account and select File option on the top left side, then select the Import and Export option (The Import and Export wizard screen appears).

Step-2: Select “Export a file” option and click Next (The Export to a file screen appears).

Step-3: Select “Contacts” option and then click “Next”.

Step-4: Click “Browse” and select the folder you want to save your CSV file in and then click Next. You will then see that a verify box pops up to confirm the action that will be performed.
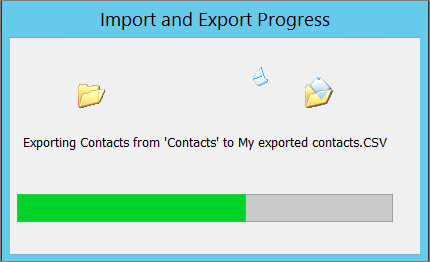
Step-5: As you click “Finish”, all the contacts in your Outlook account will be exported to a CSV file.

How to Export contacts from Microsoft Outlook 2010
Step 3: Select “Export to a file”
Now, let’s explore every step in detail.
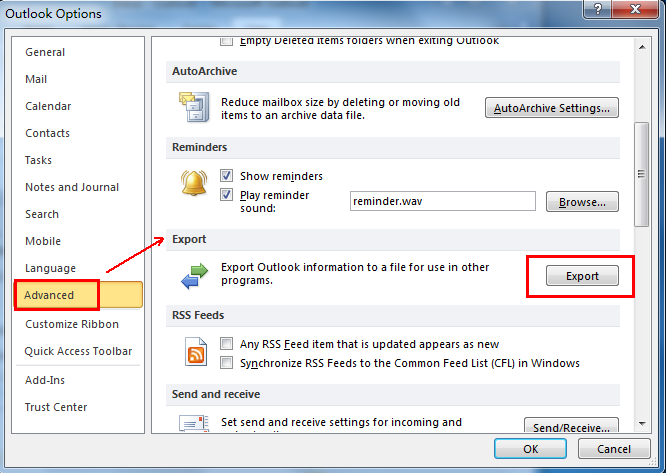
Step-1: Open your Microsoft Outlook and select File > Option

Step-2: Select “Advanced” option and then click on “Export”.
Step-3: Click on “Export to a file” and then click on “Next”.

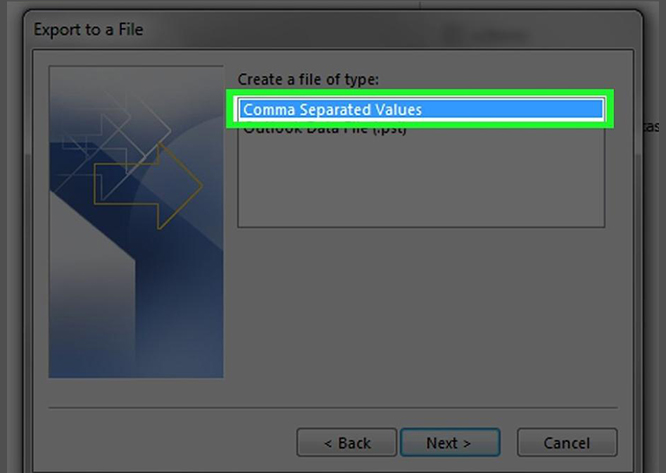
Step-4: Select “ Comma Separated Values (windows)” under create a file of type.

Step-5: Select “Contacts” option and then click “Next”.
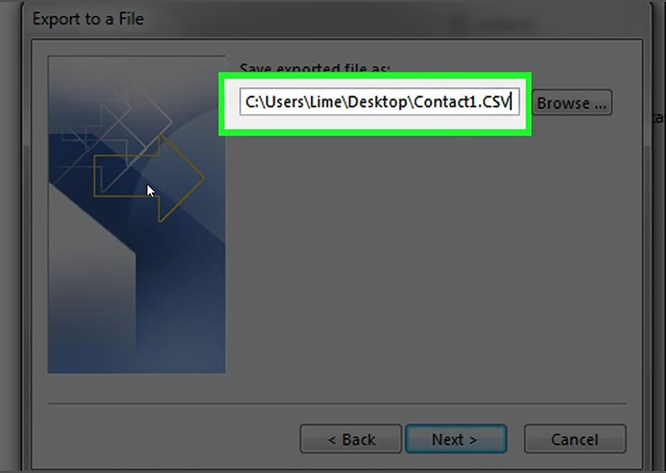
Step-6: Click “Browse” and select the folder you want to save your CSV file in and then click Next. You will then see that a verify box pops up to confirm the action that will be performed.

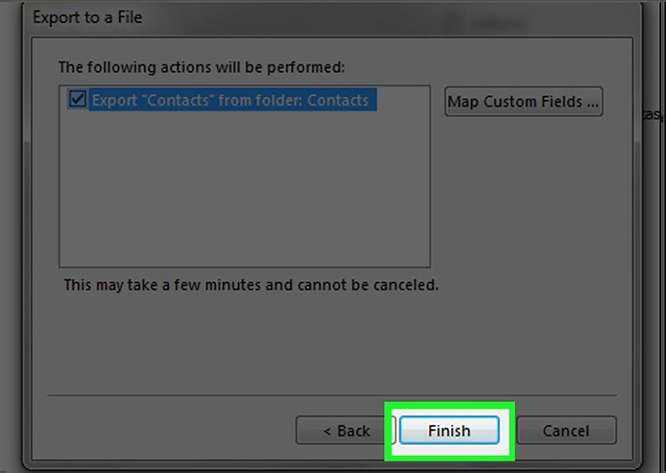
Step-7: Click on “Finish” and all the contacts in your Outlook account will be exported to a CSV file.
How to Export contacts from Microsoft Outlook 2013,2016
Step 1: Select File > Open > Import/Export
Step 2: Select “Export to a file”
Step 3: Select “Comma Separated Value” file type
Step 5: Select destination path to save file
Now, let’s have a look into every step in detail.
Step-1: Open your Outlook Menu. Select “File” option and then click on “Open & Export” option. Select “Import/Export” there.

Step-2: Select “Export to a file” option and then click on “Next”.

Step-3: Select “Comma Separated Value” under “Create a file of type” option.
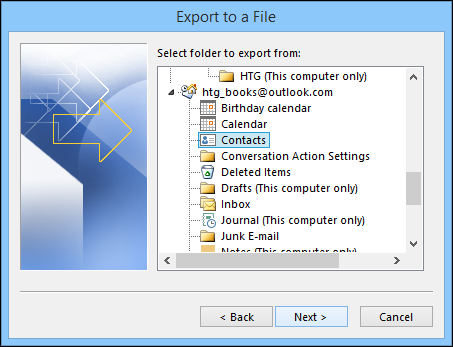
Step-4: Select the “Contacts” folder under your Outlook account name and then click on “Next”.

Step-5: Then enter the destination to save the file and select file name. Click on “Next”.
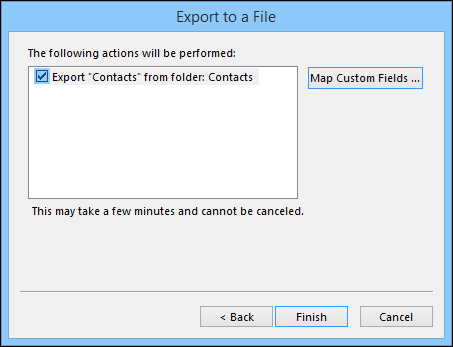
Step-6: Validate the action by ticking the checkbox “Export contacts from the folder: Contacts” and click on finish to export the same.
How to Export contacts from Microsoft Office 365 / Outlook.com
Now, let’s see every step in detail.
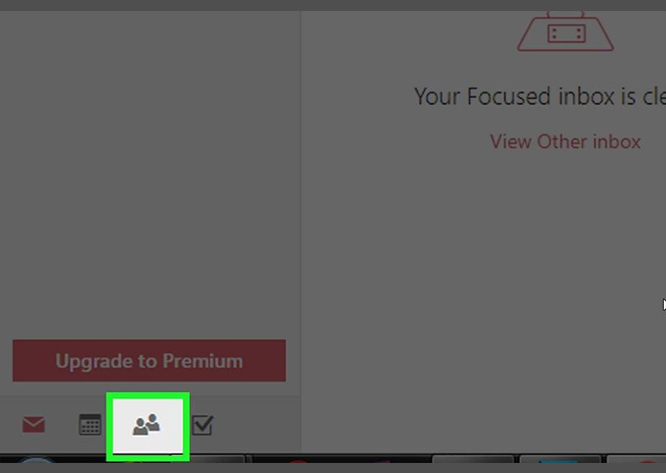
Step-1: Log into your Office 365 account and click the “Apps” icon and select Outlook from there. After you reach to Outlook.com, then click on the “People” option at the bottom left corner.
Step-2: You then have to then select “Manage” option and select “Export Contacts” under it.

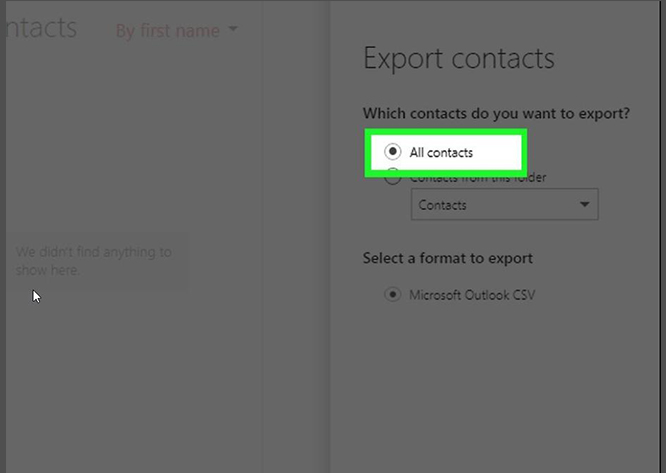
Step-3: Select the “All Contacts” option, under the heading which says “Which contacts do you want to export?” or a contact folder. Then select a file format.
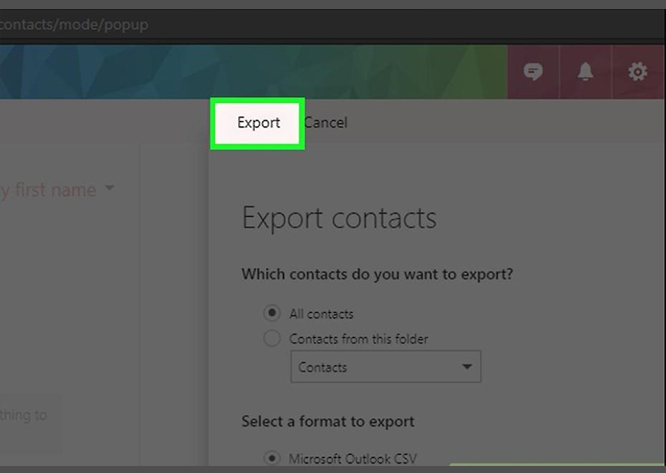
Step-4: Click on Export and select a download destination to extract the contacts.
After you have exported contacts from Outlook you can use all these contacts anywhere and have them on the go.
Apps like Saleshandy can help you send personalized mass emails to these contacts that you have exported into a CSV file. Additionally, you can set up to 9 stages of automated follow-up emails to your first email, ensuring you get maximum reply rate from your mail merge campaign.
Saleshandy also tracks your email open rate, reply and the number of links click for each email of these campaigns and then gives you actionable data to make the best of your outreach.