![How to Avoid Spam Filters in 2026 [10 Best Practices]](https://www.saleshandy.com/blog/wp-content/uploads/2026/02/Tried-and-Tested-Best-Practices-to-Avoid-Spam-Filters.webp)
I always feel a small panic when my email lands in spam.
You write a solid sequence, plan your follow-ups, and hit send. But replies never come.
And you sit there wondering, did they ignore my email, or did they never see it?
Most of the time, it is not your writing. It is the spam filters blocking your outreach before it reaches anyone.
In 2025 and 2026, inbox providers like Gmail and Outlook got sharper.
They now use AI-powered behavioral scoring, pattern detection, and engagement history on top of the usual authentication and reputation checks.
This guide covers why good emails still get flagged, what spam filters actually check in 2026.
And the 10 practices I follow to keep my cold emails landing in real inboxes.
Let’s get started!
Avoid Spam Filters – TOC
TL;DR: How to Avoid Spam Filters in 2026
If you are short on time, here is what actually matters:
1. Set up a professional sending domain with SPF, DKIM, and DMARC properly configured. Without authentication, nothing else matters.
2. Verify your email list before every campaign. Even a small number of bounces or spam traps can damage your domain quickly.
3. Follow a natural sending pattern. Start with 30–50 emails per day per inbox and scale slowly. Sudden volume spikes get flagged.
4. Write emails that earn replies, not just opens. Inbox providers weigh reply signals more heavily than open signals.
5. Test inbox placement before sending. Different providers treat emails differently, so catch problems early.
These five habits cover most deliverability issues in cold email. The detailed breakdown is covered below.
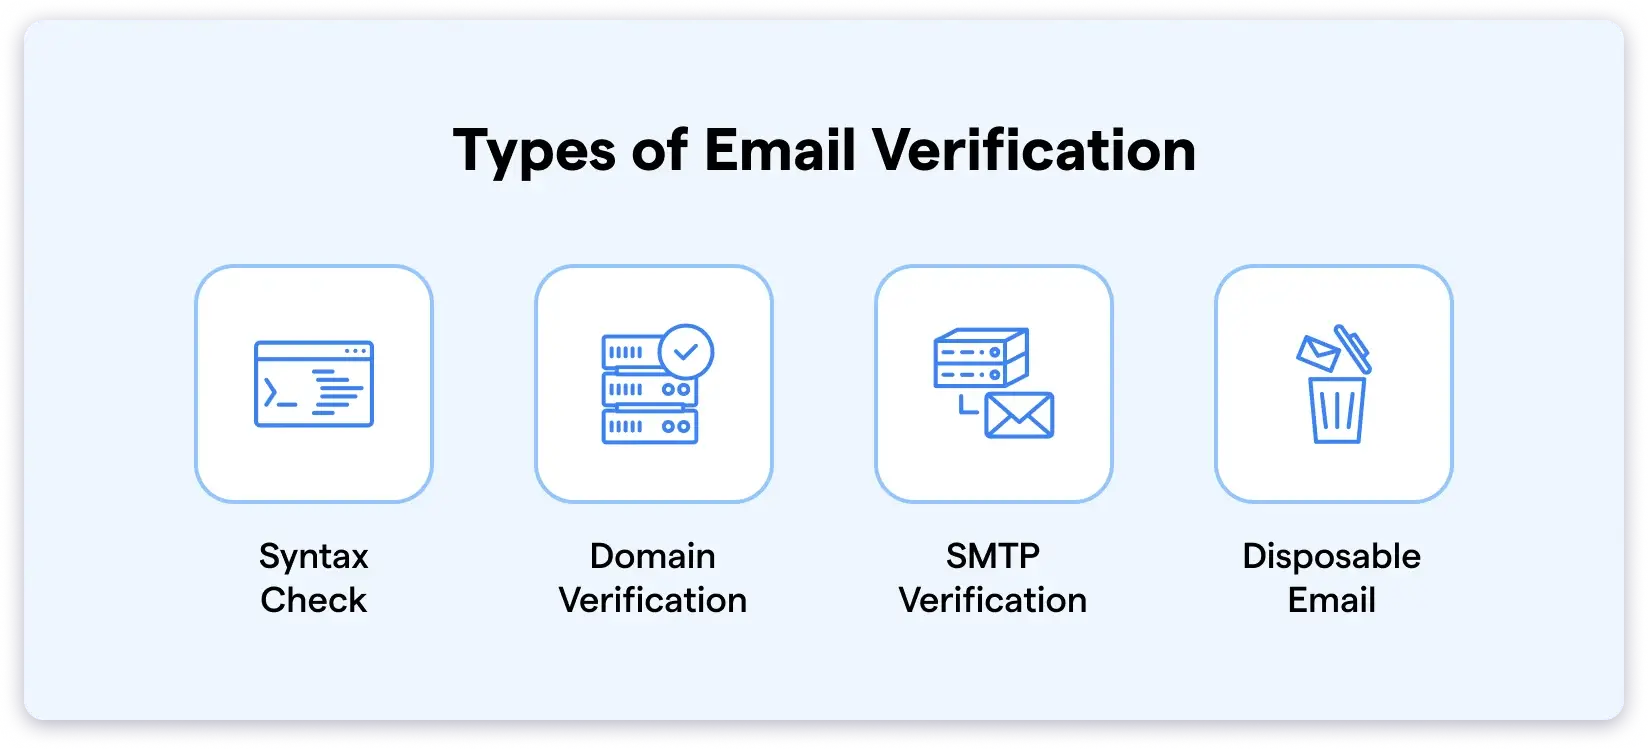
What is a Spam Filter and How Does It Work?
A spam filter is an AI system that checks every email and decides if it belongs in the inbox or in spam.
It looks at your domain reputation, your sending pattern, your authentication setup, how people interacted with your past emails, and the content you write.
Modern filters use machine learning, Bayesian checks, blacklists, and pattern analysis to detect risky or unwanted emails.
After checking all these signals, it decides where your message should land.
Here is how Spam Filters work:
- Once an email is received, inbox providers check your authentication.
- They look at your SPF, DKIM, and DMARC records to confirm the email is genuine.
- Then the filters scan your content. Within content, it looks for spam-triggering words, too many links, or heavy attachments.
- They also watch how people interact with your emails over time. If your past emails had low engagement, it affects the next ones too.
- All these checks create a spam score. If the score goes high, your email goes to spam or gets blocked completely.
Why Even Legitimate Emails Get Flagged as Spam
Here are the most common reasons (and how you can fix each one).
- Poor Sender Reputation
- High Complaint Rate
- Weak Email Authentication
- Unverified Email Address List
- Misleading Content
1. Poor Sender Reputation
Your sender reputation is like your credit score for email.
The sender reputation tells email providers how trustworthy your domain is. And whether your emails deserve to reach the inbox.
If you send too many emails from a new domain or use unverified contacts, your reputation drops.
Bounces make it worse. Once your domain’s reputation declines, even genuine emails can land in spam.
Email providers track:
- How many emails you send
- How many people open your emails
- How often you receive replies
These signals decide whether your next email reaches the inbox or not.
A sudden increase in email sending volume or low engagement makes your domain look suspicious.
How to Avoid It:
Warm up your email accounts for at least 2–3 weeks before sending campaigns. Keep your daily volume steady, around 50 to 100 emails per inbox at the start.
This helps you build trust, protect your domain, and maintain a clean reputation. You can even use the inbox placement tool by Saleshandy to make sure your emails land in the inboxes.
2. High Complaint Rate
Spam complaints usually come from a bad experience. You know the feeling when you want to check one important email, but unwanted messages fill the screen (The same goes for your prospect!).
If recipients report your emails as spam, it is obvious that the email service providers will get direct signals to consider your emails as spam.
Even a small spam rate (around 0.1–0.3%, and Gmail’s 0.1% tolerance rule) can hurt your domain reputation and deliverability.
It usually happens when your emails sound irrelevant or too promotional.
You can check your spam rate using Google Postmaster Tools.
It helps you see how many users marked your emails as spam compared to how many you sent to active users.
How to Avoid It:
Write your emails that are personalized to your prospects. Make sure you target the right audience.
Include an unsubscribe button at the end of your emails to let people opt out easily.
3. Weak Email Authentication
If your email is not authenticated, it will go to spam.
Without SPF, DKIM, and DMARC, your domain has no proof of ownership.
Inbox providers treat it like someone is trying to fake your identity, and they block your emails to protect users.
How to Avoid It:
Configure SPF, DKIM, and DMARC for all your domains. These records tell ESPs that your emails are verified and safe.
You can use free tools like MXToolbox to confirm your setup before sending emails.
4. Unverified Email Address List
Sending emails to unverified contacts is the fastest way to hurt your domain.
When unverified emails bounce back, inbox providers start doubting your domain health.
It gets worse if your list contains spam traps, pristine traps, recycled traps, or simple typo traps that sit hidden in even the most reliable-looking B2B databases.
A few bounces or trap hits can undo weeks of careful sending activity..
How to Avoid It:
Keep your bounce rate low, ideally below 3%, to maintain healthy deliverability.
A verified list does more than just protect your domain. It makes sure your emails reach people who are worth your effort.
Also Read: Following best practices to avoid spam trap issues can significantly improve inbox placement.
5. Misleading Content
Misleading content hurts your sender’s reputation quickly. Spam filters notice when your subject line promises one thing and the email says something else.
When your message feels exaggerated, people lose interest.
And when readers stop engaging, inbox providers push your emails down.
A few spam reports or a drop in engagement is enough to block your reach.
Keep your message honest and aligned so your emails stay trusted.
Here are some common mistakes to avoid:
- Fake familiarity: Adding “RE” or “FW” when you’ve never contacted the person before.
- False urgency: Saying “Last chance” or “Offer ends soon” when it doesn’t.
- Forced emotion: Saying “We miss you” when it’s just a promotional message.
- Clickbait subject lines: Promising something that your email doesn’t actually deliver.
- Scare tactics: Saying “Your account is on hold” when it’s only a campaign message.
- Unrealistic promises: Claims like “Double your sales overnight.”
Also, take care of these points.
- Inbox providers check if your email looks promotional based on your structure and CTAs.
- Too many links make your outreach look like an ad.
- Overusing marketing words can push you to Promotions fast.
- Heavy HTML signatures do more harm than good.
- Too many images compared to text is another red flag.
When readers feel misled, they stop trusting your emails.
How to Avoid It:
Keep your email message straight and simple. Write subject lines that match your intent.
Say what you mean and deliver exactly that.
10 Best Practices to Avoid Spam Filters
Let’s learn about the best practices in detail one by one.
- Use a Professional Domain and Set up Proper Email Infrastructure
- Authenticate Your Emails and Domains
- Build and Maintain a Strong Sender Reputation
- Verify and Segment Your Email List
- Write Clear, Personalized, and Non-Spammy Content
- Follow a Natural Email Sending Pattern
- Avoid Tracking Open Rates
- Add an Unsubscribe Link (and Stay Compliant)
- Test Your Inbox Placement Before Sending
- Monitor and Take Action Based on Engagement Signals
1. Use a Professional Domain and Set up Proper Email Infrastructure
When I send cold emails, I always use a professional domain. You should, too. Free domains like Gmail or Yahoo create trust issues and end up in spam.
Set up your main domain properly. A branded email address like yourname@yourcompany.com looks credible and lets you add SPF, DKIM, and DMARC.
Inbox providers rely on these checks. You need to use separate domains for outreach to keep your main domain safe.

For example, saleshandy.io or saleshandy.co works well if your primary domain is saleshandy.com.
Create branded inboxes like jane@saleshandy.co. Generic ones like info@ or contact@ get flagged faster.
Spread your inboxes across different providers or IPs. It lowers the risk of everything getting blocked at once.
A simple and well-planned domain setup helps your emails land better and protects your reputation.
2. Authenticate Your Emails and Domains
When I set up a sending domain, authentication is the first thing I fix. You should do the same. Inbox providers rely on these checks to confirm that your emails are genuine.
Without them, your domain looks unverified and risky.
There are three records you need:
- SPF tells inbox providers which servers are allowed to send emails from your domain.
- DKIM adds a signature to prove that your email has not been tampered with along the way.
- DMARC connects SPF and DKIM and tells inbox systems how to handle failures.
Add these records for every domain you use for outreach. Your DNS or email provider will give you the values you need.
After setup, run a quick test using tools like MXToolbox. It takes a minute and saves you from surprises later.
Without these records, even legitimate emails can get flagged as suspicious.
If you want to go above and beyond, follow these steps as well.
- BIMI shows your brand logo in supported inboxes and adds trust.
- ARC keeps your authentication valid when your email gets forwarded.
- DMARC levels matter. “None” only watches, “quarantine” filters failures, and “reject” blocks them completely.
- Hosts like GoDaddy or Hostinger often add incomplete DNS records, so you should double-check everything manually.
Once authentication is complete, test it using tools that verify your setup. This makes sure every outgoing email passes validation checks.
Proper authentication builds trust and improves your inbox placement.
3. Build and Maintain a Strong Sender Reputation
Your sender reputation decides how inbox providers treat your emails. Think of it as the trust score tied to your domain.
Inbox providers track small signals. If people often ignore or delete your emails, your score drops. If your sending pattern looks unusual, it drops again.
Even a few spam complaints can push everything down faster than you expect.
Here is what I stick to, and it works:
- Do not keep sending to people who never engage. Remove them early.
- Use more than one inbox. It keeps your sending pattern natural.
- Choose a sending platform with a proper reputation. Bad networks create issues even when your emails are good.
- Even personalized email follow-ups make them look unique. It keeps your emails looking human.
- Keep a basic online identity. Inbox systems look at your domain presence as a trust signal.
- Monitor your inbox health. If an inbox struggles, stop and fix it rather than pushing more volume.
Reputation improves slowly when you send responsibly, and that is what inbox providers expect from you.
4. Verify and Segment Your Email List
Sending emails to unverified contacts is one of the quickest ways to hurt your domain.
I have seen many people skip this step, and it always shows up later in their deliverability.
When you send to a bad list, even a few bounces or spam traps can undo weeks of good activity. Inbox providers start doubting your domain immediately. You do not want that.
Here is what I do, and you should follow the same:
- Always verify your list before every campaign. (Not once, but every time)
- Remove fake, outdated, or misspelled emails. They do nothing for you.
- Avoid role-based emails like info@ or sales@ when possible. They trigger filters more often.
- Stay away from bought or scraped lists. They look tempting, but they damage your domain long-term.
If you are using Saleshandy, you do not need any extra tools. The built-in email verifier checks your list before you send anything. It saves time and protects your sender’s reputation.
Keep your bounce rate low. Anything above 3% hurts deliverability. A verified list keeps your sending healthy and gives your campaigns a better chance.
Once your list is verified, segment it.
Separate new prospects from older ones. Keep people who opened in one group and people who replied in another. Your message for each group will be different, and inbox providers pick up on this relevance.
When your data is clean and your segments are clear, you create steady engagement. And steady engagement is one of the strongest signals that helps you land in the inbox.
5. Write Clear, Personalized, and Non-Spammy Content
Good cold email content is not about fancy writing. It is about saying the right thing that feels meant for the person reading it.
Your first line should tell them why you are writing.
Skip the long intros. Drop the “Hope you are doing well.” Be direct and connect their situation with your reason for reaching out.
What I look for when personalizing:
- Their role and the problems that come with it
- A recent update, launch, or hiring move at their company
- A post they shared or something they mentioned publicly
- One small, specific detail that works as your opening context
For example: “I saw your team is hiring for outbound reps. This might help them get started faster.”
Keep it short. Keep it relevant. Share how someone in a similar role solved a similar problem.
That adds weight without sounding salesy.
What inbox providers actually care about in 2026:
This is the part a lot of people miss. Inbox providers now pay more attention to behavior signals than your wording.
- Reply intent matters more than open intent. If your email leads to a reply, that is a strong positive signal.
- AI-powered pattern detection flags lookalike sequences. If every email in your sequence follows the same structure, filters pick up on it fast.
- Engagement quality beats engagement quantity. One genuine reply does more for your deliverability than fifty opens.
Change your patterns. Sometimes lead with context. Sometimes lead with a short observation.
It keeps your emails human and harder for filters to group into a template bucket.
If you are looking for a way to improve your reply rate, check this YouTube video.

Do not fall into predictable patterns.
AI pattern detection can block lookalike sequences if they repeat the same structure every time.
Change your pattern. Sometimes write emails with context. Sometimes with a small observation. It keeps your emails human.
Avoid mistakes that instantly break trust:
- Fake familiarity (like adding RE or FW)
- False urgency
- Forced emotion
- Clickbait subject lines
- Scare tactics
- Unrealistic claims
Once a reader feels misled, the trust disappears. And when trust goes down, even your best campaigns struggle.
Overall, Keep your CTA simple. A one-line question works better than pushing for a call. Make every follow-up feel like progress.
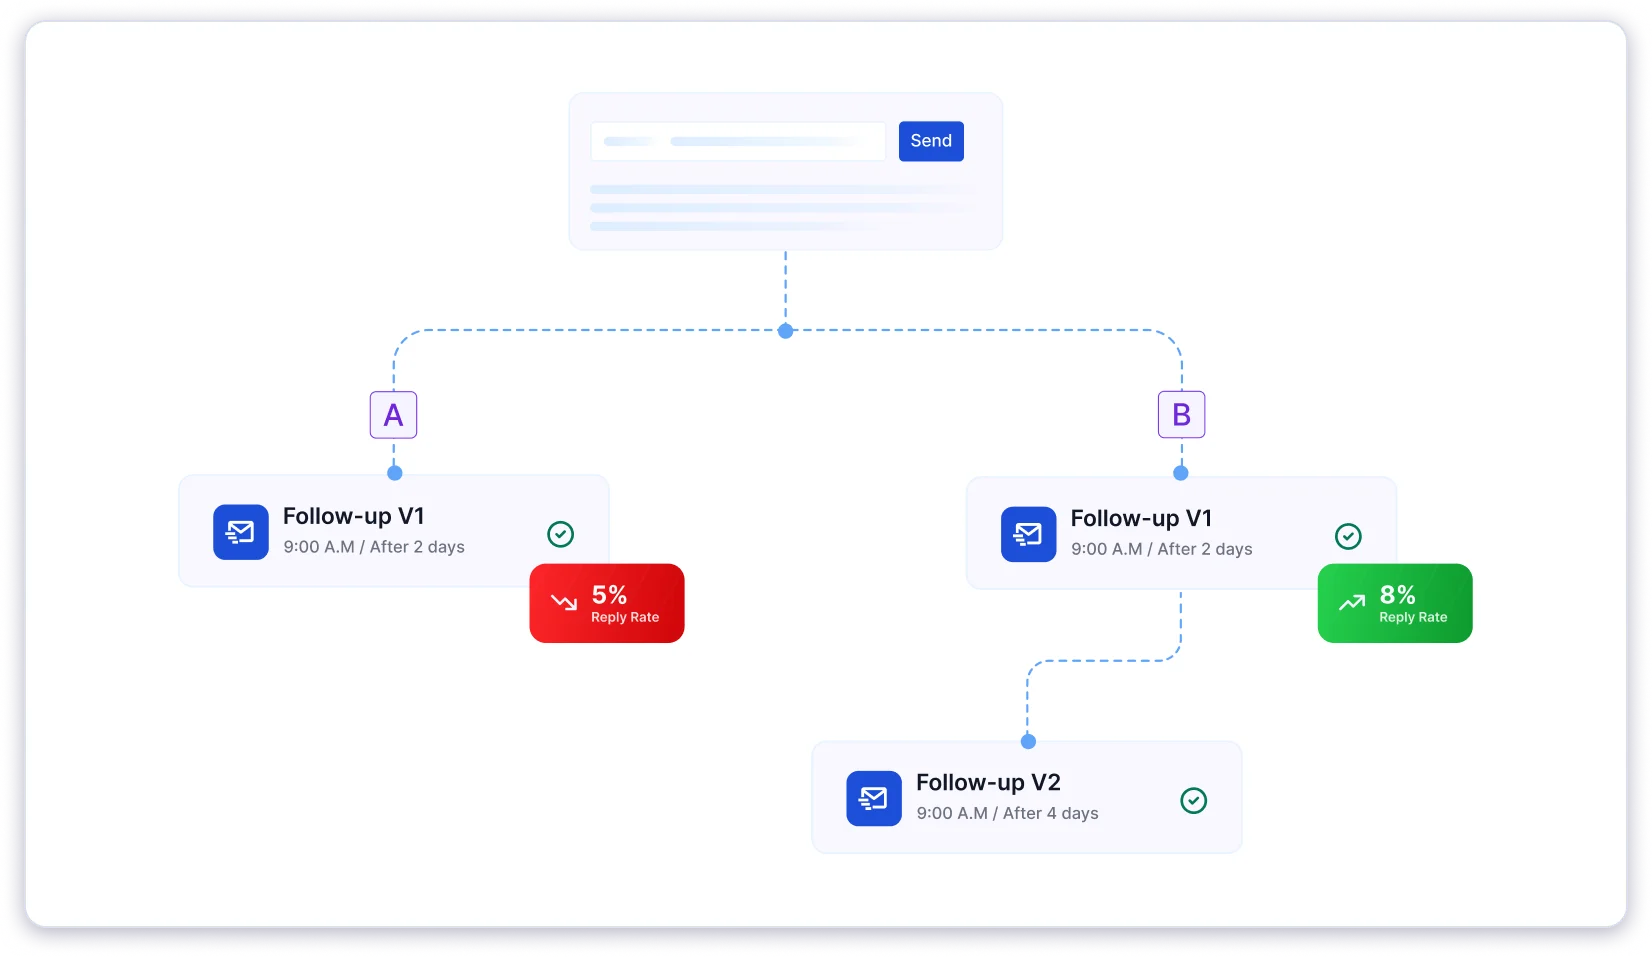
6. Follow a Natural Email Sending Pattern
Many cold emails fail because of how they are sent, not what they say. Inbox providers check your sending behavior before checking your content. If your pattern looks automated, they stop trusting your emails.
Here is what I follow, and you can do the same:
Keep your email sending volume steady
- Start small with new inboxes (around 30–50 emails a day).
- Do not suddenly increase the number of emails sent.
- If you jump from 50 to 300 in one day, it looks suspicious.
Schedule your email throughout the day
- Do not send everything at one exact time.
- Human senders do not fire all emails at 9:00 AM every day.
- Slight timing variations make your activity look natural.
And keep this in mind for Gmail in 2026:
- Gmail now looks at when you send, not just what you send.
- If all your emails go out at the top of every hour, it looks automated. Gmail flags this very fast.
- Use small, random delays between sends to avoid this machine-like pattern.
Avoid predictable spacing in your sequences
- Do not use the same gaps for every follow-up.
- A sequence like day 1 → day 3 → day 5 looks clean to you but robotic to inbox filters.
- Shift the spacing a little so it feels more human.
Stay consistent
- Avoid long breaks between campaigns.
- If you send often and then disappear for weeks, it hurts your domain when you restart.
Use multiple inboxes the right way
- Split your volume across inboxes.
- For example, send 50 from several inboxes instead of pushing everything from one.
Automate safely
- In Saleshandy, you can set timing gaps and sending limits.
- It keeps your sending pattern steady without extra manual work.
- Plus, you can also check the sequence score of your email sequence.

A natural sending pattern builds trust in the background, and that trust is what helps your emails reach the inbox.
7. Avoid Tracking Open Rates
I stopped tracking open rates a long time ago, and you should do the same.
There was a time when they meant something, but inbox providers now block or preload tracking pixels.
A 70% open rate today might just be systems scanning your email.
Those pixels also affect deliverability.
Inbox filters treat them as tracking elements and push your emails to promotions or spam. Even a single pixel can change how your message is judged.
The same thing happens with link trackers.
Inbox providers often see them as marketing links, and they push your emails into Promotions or even Spam.
If you need tracking, use a custom tracking domain. It looks more natural and keeps your deliverability steady.
And go easy on UTM parameters. Gmail moves a lot of UTM-heavy emails straight to Promotions.
Keep your links simple. It makes your inbox placement much healthier.
Here is what I track instead:
- Replies that show real intent
- Clicks on useful links
- Conversions that prove action
These numbers tell you what worked without risking your inbox placement.
If you use Saleshandy, you already get proper engagement tracking without relying on open rates. You can see replies, clicks, and outcomes clearly, without adding any risky pixels.
8. Add an Unsubscribe Link (and Stay Compliant)
Inbox providers notice how you handle people who are not interested.
If you do not give them an unsubscribe option, the only button they will click is “Report spam.”
And that one click hurts your domain more than anything else.
Here is why the unsubscribe link matters:
- It stops spam complaints before they happen.
- It gives your reader a clean way to step out.
- It also shows inbox filters that you follow safe sending practices.
- Plus, it is required under laws like CAN-SPAM and GDPR.
And now there is one more thing to keep in mind:
- Gmail expects a simple, one-click unsubscribe for bulk senders.
- Adding the List-Unsubscribe header helps inbox filters trust your email.
- Even a “Reply to unsubscribe” works as a clear opt-out signal.
A few more compliance basics that actually make a difference:
- Use a real sender name and a working reply address. Inbox filters check this as a basic trust signal.
- Add your company name, website, or team identity. It keeps your outreach transparent.
- Add a physical address if your region requires it.
Email only relevant prospects. This aligns with GDPR’s “legitimate interest” rule and reduces complaints.
Compliance is not only legal.
It shows inbox providers that you send responsibly.
Domains that ignore these rules get flagged faster, even when their content looks fine.
If you use Saleshandy, most of these pieces are handled automatically. You stay compliant without changing your writing style.
A simple unsubscribe link and a few basic checks keep your campaigns safe, trusted, and deliverable for the long run.
9. Test Your Inbox Placement Before Sending
Before you send any campaign, you should know where your email actually lands. Inbox, spam, or promotion.
Inbox placement testing helps you catch problems early, before they hurt your reputation or waste your effort.
Here is why it matters:
- Even with good content and proper authentication, emails can still slip into spam.
- Different providers behave differently. Gmail, Outlook, and Yahoo do not treat your email the same way.
- Testing shows you the real placement across these providers before you hit “send.”
Tip: ISPs evaluate your “last 30 days sending health”.
Here is what I check every time:
- Domain reputation: See if there are any blacklist issues.
- Email content: Check if the subject line or links trigger filters.
- Placement across providers: Gmail, Outlook, Yahoo, and others that your audience uses.
- Authentication: Make sure SPF, DKIM, and DMARC are passing.
Here is how you can run these tests:
- Use Saleshandy’s inbox placement test to see where your email lands.
- Send a test email to a seed list with different provider addresses.
- Check your spam score using tools like MxToolbox.
- Fix the issues that show up, then send your campaign.

When should you test?
- Before the first campaign from a new domain or inbox.
- When you change your templates or strategy.
- From time to time, just to keep things healthy.
Regular inbox placement testing saves you from surprises and keeps your campaigns performing well.
10. Monitor and Take Action Based on Engagement Signals
Email deliverability changes based on the engagement of people with your emails.
If you ask me, I check signals to understand if something is going wrong before it becomes a serious problem.
What I track often:
- Bounce rate below 3 percent
- Spam complaints below 0.1 percent
- Reply rate across each sequence
- Unsubscribes that jump suddenly
- Domain reputation in Google Postmaster
- Blacklist checks once a week
If I face any of these issues, I resolve them by following these methods.
- Clean the email list if bounces go up.
- Improve targeting if complaints start showing.
- Try new subject lines if replies fall.
Small changes at the right time keep your domain healthy and your inbox placement stable.
Wrapping Up
Every practice I have covered above works together.
Authentication protects your domain. List verification keeps your data clean. Smart content gets replies.
And consistent sending builds trust over time.
If you follow these ten steps, you should see a real difference in where your emails land.
The key is doing them consistently, not just once before a big campaign.
FAQs About Avoiding Spam Filters
1. Why do my cold emails land in spam even when the content is good?
Because inbox providers look at more than your message, they check your sender reputation, authentication setup, list quality, and sending pattern. If any of these look risky, your email goes to spam, even if the content is perfect.
2. How many emails can I send per day without hurting deliverability?
Start with a small number of emails. For new email addresses, you can send around 20 to 30 emails a day. Once you build trust, you can increase gradually.
3. How important is email verification?
Email verification is the most important part of sending cold emails. It allows you to remove the unverified lists that lead to bounce emails.
4. What triggers spam filters?
Spam filters evaluate multiple signals together. Common triggers include missing SPF, DKIM, or DMARC, poor sender reputation, high bounce rates, spam-heavy wording, too many links, sudden volume spikes, and low engagement from past emails.
5. How do I avoid spam filters in Gmail and Outlook?
Both check authentication, reputation, and engagement. Gmail is more sensitive to rigid sending patterns and timing. Outlook focuses more on domain reputation and complaint history. For both, authenticate your domain, verify your list, and send at a natural, gradual pace.
6. How do I avoid spam traps in cold email?
Spam traps are used to catch senders with poor list hygiene. They include pristine, recycled, and typo-based addresses. Avoid them by verifying lists before every campaign, never buying or scraping contacts, and removing inactive leads regularly.
7. What do spam filters look for in an email?
Filters score emails based on authentication, sender reputation, content quality, sending behavior, and past engagement. If the combined score crosses a threshold, the email is filtered or sent to spam.